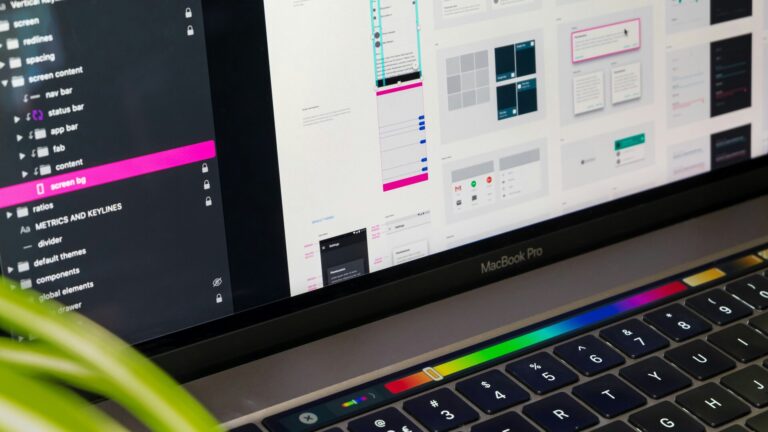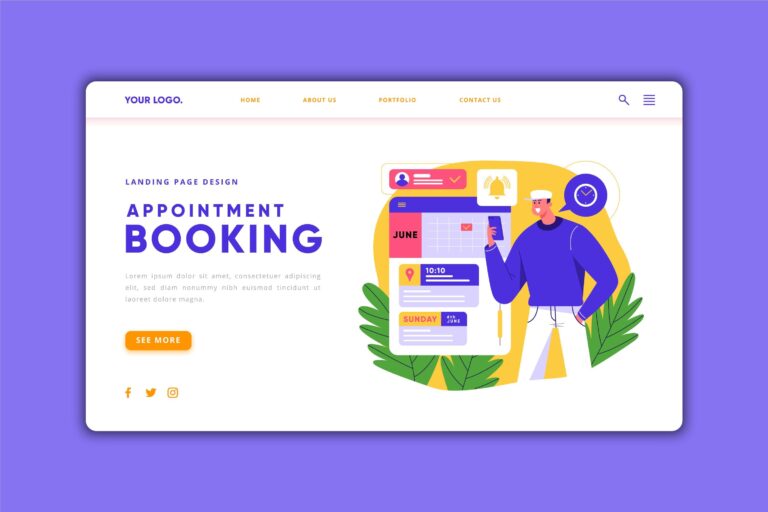
Generating a website mockup with AI takes minutes now — a prompt into Figma AI, v0, Midjourney, or even ChatGPT gets you a polished-looking homepage design in less time than it takes to write a brief for a designer. The part nobody’s tool actually solves is what comes next: turning that flat image or prototype into a real, working, editable WordPress site. Here’s the actual process.
Going from an AI mockup to a working WordPress site means: extracting a real design system (colors, fonts, spacing) from the mockup rather than eyeballing it, choosing between a page builder and custom theme development based on how far the mockup departs from standard layouts, rebuilding the design as actual HTML/CSS blocks rather than dropping in a screenshot, and testing responsiveness from scratch since AI mockups are almost always designed at one fixed desktop width. The mockup is the easy 10% — the rebuild is the real 90% of the work.
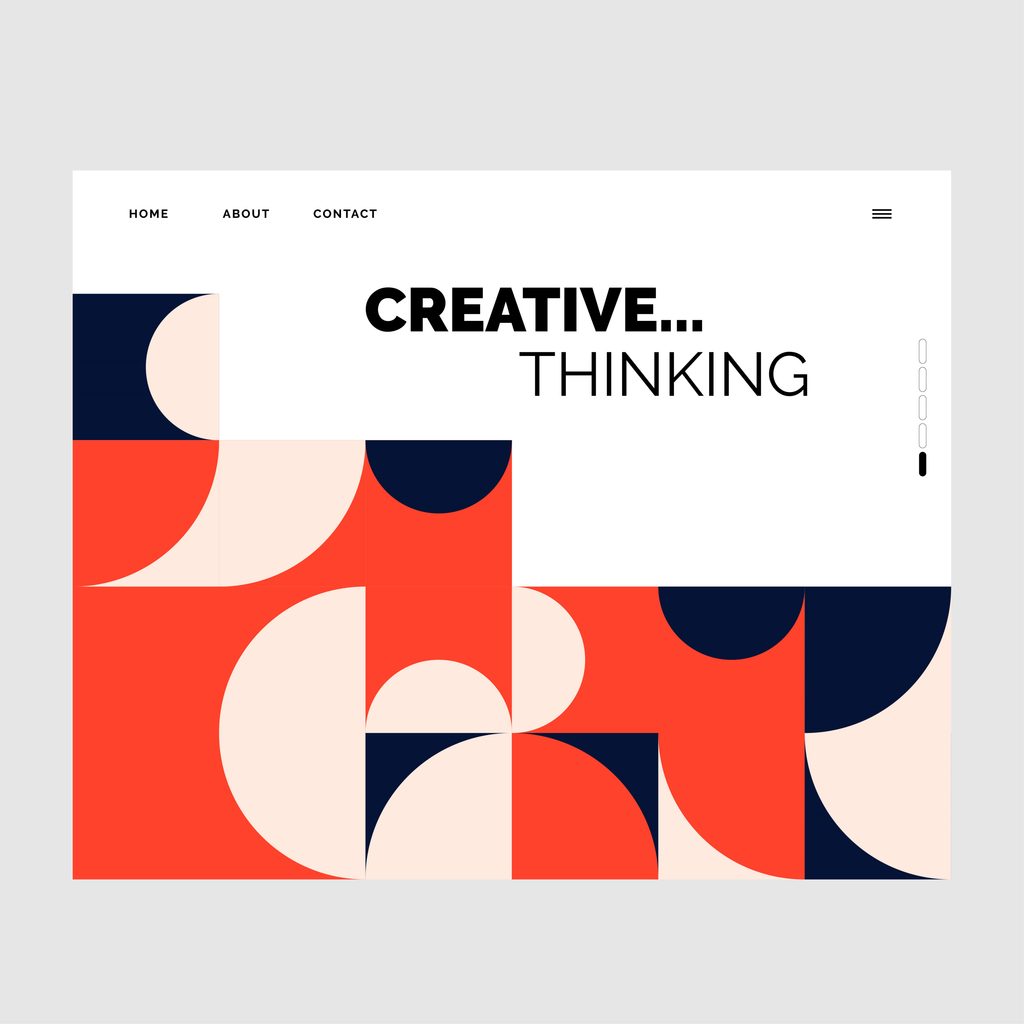
Step 1: Extract a Real Design System From the Mockup
Before touching WordPress, pull out the actual design decisions the mockup is making, because “make it look like this image” isn’t a buildable spec.
- Colors: Use a color picker tool on the mockup image to get exact hex codes for the background, text, and accent colors — don’t guess or eyeball a “close enough” shade.
- Typography: Identify the font family (or the closest available match if the mockup used a paid or custom font), plus the actual heading and body sizes in pixels.
- Spacing: Note the approximate padding and margin patterns — most AI mockups use a consistent spacing scale even if it wasn’t intentional, and matching it makes the rebuilt site look coherent rather than assembled from parts.
This step alone is where a lot of DIY rebuilds go wrong — without it, a “close” WordPress version often reads as visibly different from the mockup even when every section is technically present.
Step 2: Decide Between a Page Builder and Custom Development
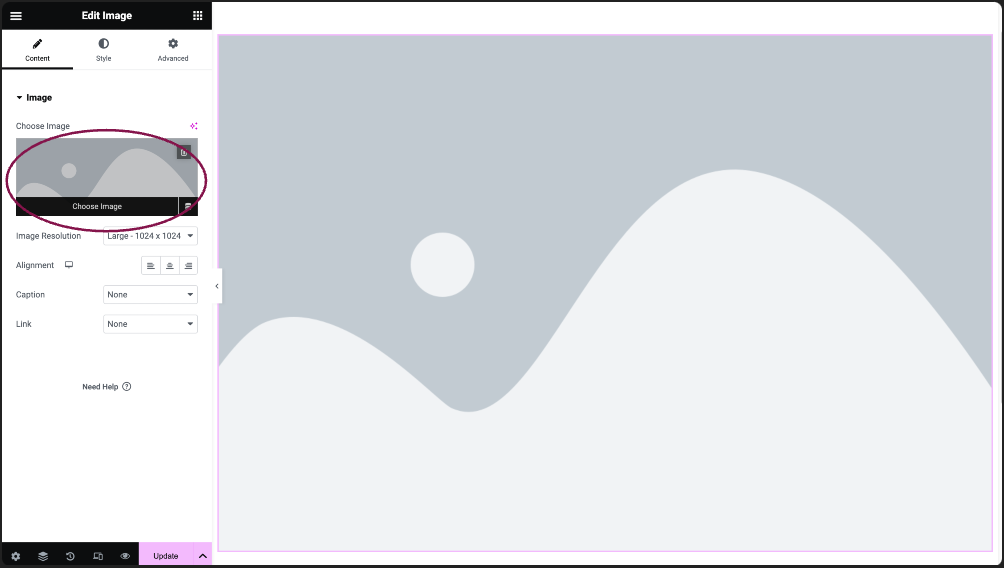
This decision depends entirely on how far the mockup departs from what a page builder can do out of the box.
| Choose a page builder (Elementor, Bricks, WordPress block editor) if… | Choose custom theme development if… |
|---|---|
| The layout uses standard sections — hero, features grid, testimonials, footer | The mockup has unusual layouts, overlapping elements, or custom animations |
| You (or the client) need to edit content without a developer going forward | Performance is critical and every unnecessary builder script matters |
| Timeline and budget are tight | The design system needs to scale across many page types consistently |
Most small business mockups — the kind generated for a dental clinic, salon, or local shop — fit comfortably into a page builder. Genuinely unconventional designs, or anything with custom interactions, are usually cheaper to hand-code than to fight a builder into replicating.
Step 3: Rebuild Section by Section — Never Drop in a Screenshot
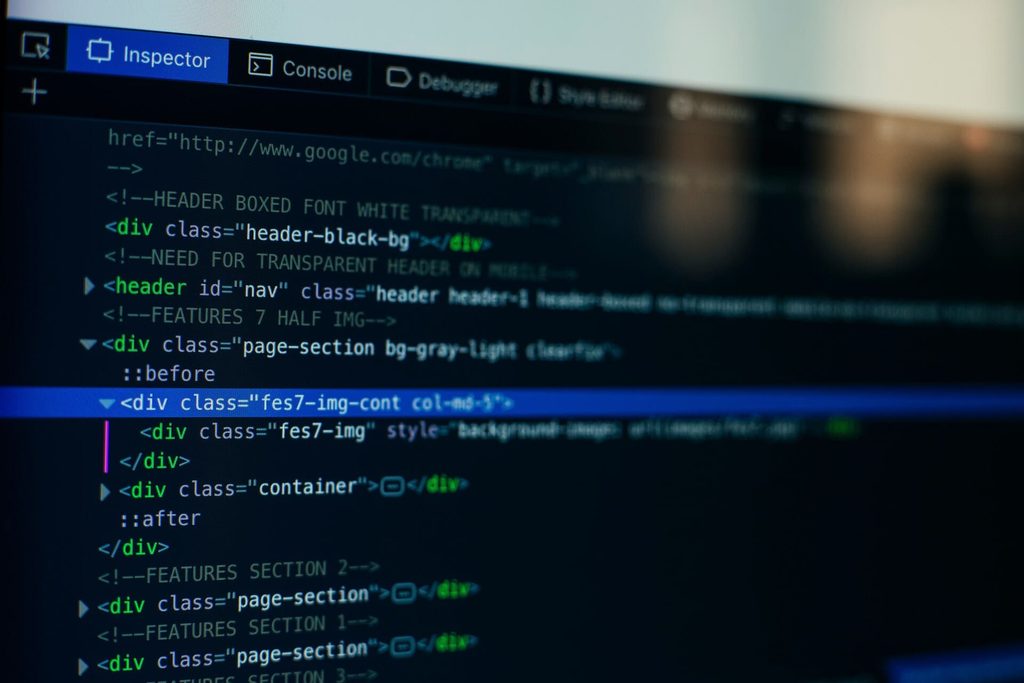
It’s tempting to slice the mockup into image chunks and lay them out as static images with the page builder. Don’t. This produces a site that looks right on exactly one screen size, loads slowly, has zero real text for search engines to index, and can’t be edited without redoing the image.
Build each section as real HTML elements instead:
- Hero section — real heading and paragraph tags, a real button element, background image (not the whole hero as one flat image)
- Feature/service grid — actual repeated block components, not a single image of a grid
- Text content — every word from the mockup typed in as real, editable, indexable text
- Buttons and forms — functional elements, not static image buttons that look clickable but aren’t
Step 4: Design for Mobile — Because the Mockup Almost Never Did
AI mockup tools overwhelmingly generate a single desktop-width design and stop there. This is the step most DIY rebuilds skip entirely, and it’s the one visitors notice immediately, since most traffic to a small business site is mobile.
- Rebuild the layout logic for mobile from scratch — what stacks, what hides, what resizes — rather than just shrinking the desktop version proportionally
- Pay particular attention to navigation (a desktop menu bar needs a real mobile menu pattern, not a shrunk version of itself) and any multi-column sections (grids typically need to become single columns)
- Test on an actual phone, not just a browser’s device-simulation view — real mobile browsers handle fonts, tap targets, and scrolling differently enough to matter
Step 5: Add What the Mockup Never Included
AI-generated mockups almost never include the functional pieces a real business site needs, because they’re generating an image, not a working system:
- SEO basics — page titles, meta descriptions, alt text on every image, proper heading hierarchy
- Forms that actually submit somewhere — connected to email, a CRM, or a booking system, not just a styled box
- Real favicon, browser tab title, and social share preview image
- Legal basics — a privacy policy and cookie notice, required in Poland and the EU for any site collecting even basic contact form data

Step 6: Test Before Calling It Done
- Load speed: An AI mockup rebuilt with unoptimized images and an overloaded page builder is one of the most common reasons a “finished” site loads slowly — compress images and check performance before launch, not after complaints come in
- Cross-browser check: Confirm the rebuild looks right in at least Chrome and Safari, since mobile Safari in particular handles some CSS differently than Chrome
- Real content review: Placeholder text (“Lorem ipsum,” generic stock phrases) has a way of surviving into launch — do a full read-through with real business content before going live
When It’s Worth Bringing In a Developer
If the mockup involves custom animations, non-standard layouts, an interactive booking or payment flow, or content types a page builder doesn’t handle natively (like the multi-doctor booking systems we cover in our dental website cost breakdown), the rebuild stops being a page-builder afternoon and becomes real development work. That’s a reasonable point to hand the mockup to a developer rather than spending days fighting a builder into doing something it wasn’t designed for.
The Bottom Line
An AI mockup is a genuinely useful starting point — it removes the blank page and gives something concrete to react to. But it’s a picture of a website, not a website. Turning it into one means extracting a real design system, rebuilding every section as functional code instead of images, designing for mobile from scratch, and adding everything the mockup never included in the first place. Budget time for that rebuild honestly, and the mockup stays what it should be: a fast, useful first draft, not the finish line.

Builds and hosts WordPress sites for small businesses. Writes about the practical side of running a website — cost, speed, and what's actually worth paying for.